It would be great to a wildlife photographer, it really would. Obviously I have a starry-eyed notion that doesn’t involve sitting for hours bored, cold, tired, wet etc but still, I’d love to do it at at least once. Until such time I’ll stick with doing what I can with zoo visits. If you like taking pictures of animals then zoos and safari parks represent the only opportunity most people get. I go to Edinburgh Zoo a lot, I’m lucky to live very close. It struck me on my last visit that there were things that I’ve learnt over time that help me get better photos. So, I written them down here. I don’t claim to be an expert, but I do get lucky occasionally.
1. Turn off your flash!
You’re at the zoo, you point your point and shoot camera at some poor wee animal and the flash goes off. You get a nice picture of your flash reflecting in the glass and a scared wee creature. Also, you hear a loud tutting noise behind you. That’s me, tutting at you. It’s my new passive aggressive photography tuition technique. Doesn’t work but I’ll stick with it. At least until everyone has read this.
I know most times that people don’t know if their flash will go off or not. It might even be a sunny day so why would it? Well, cameras get confused. So, don’t let them get confused, turn the flash off. Thing is, I can’t think of a situation where the flash would help. If the animal is far away, it will make no difference. If it is close you’ll either frighten the bejesus out of it or get the aforementioned flash reflection.
Obviously, you’ll go back, turn off the flash and you’ll come back and complain that all your photos are blurry. Well, they probably were anyway, you just couldn’t see behind the flash reflection. You need to understand your camera a bit more to avoid this, of which more later. A very loud tut to all the DSLR owners I see with your fill flashes popping up, enough of that now, keep reading.
I’ll reserve a special mention for the people who fire their flashes incessantly at the tanks in aquaria. Top marks people, gonna stop that?
2. Leave the camera wide open
This is mainly for the DSLR gang but does apply to point and shoots too. You need as much shutter speed as you can muster so, set the camera to AV priority and make the f-stop as low a number as you can get. Depending on what kind of day it is, you might want to push the ISO as high as it will go (without getting horrendous noise). I’m lucky, with my camera I can get half-decent images at f4.0/ISO3200. If you leave your camera ready like this, you’ll always be prepared should an opportunity arise, keep an eye on the ISO depending on how the light is.
Most point and shoots will do a version of this, go on, read the manual!
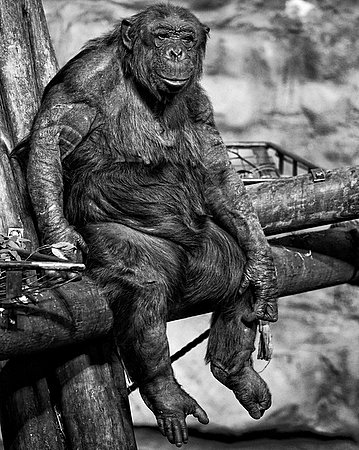
This photo of the chimp is at the very edge of what I can do with my camera and that is with holding the camera very steady (and with an animal that doesn’t move much). You could use a tripod to help but you need very accommodating animals for that to be of any use. It will be easier to steady a point and shoot or find somewhere to balance it. One good trick with a point and shoot is to use a 2 second delay on the shutter, press, put it down and let it shoot from a wall or similar.
3. Look for people first
This is clearly counter-intuitive but bear with me. The issue with getting photos of animals in zoos is even with a great camera and perfect light, if the animal doesn’t make an appearance you’re not going to get a photo. You need to be there when it does pop its head out. The best clue to an animal being out and about is a crowd. If you look for groups gathering you will have many more eyes working for you to find that animals that can be snapped. Obviously, you’ll still need to fight your way in. Or, what I usually end up doing, shooting over the heads of people with my telephoto lens. Saves too much elbow work and get a buggy in the achilles.
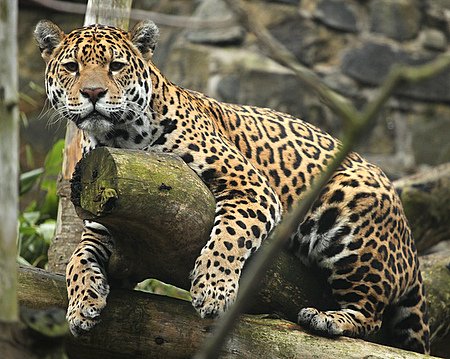
I knew the Jaguar was there from some distance because of the group of people looking.
4. Wear Black
Camouflage? Ninja tactics? Neither. Most zoos will attempt to aid viewing by giving the enclosures some or all glass to look through. This is great but depending on the angle of light you might end up with a lot more reflection than animal in the picture. Wander about and find a good angle but one trick I always use is to use my own reflection to shoot through. If I’m wearing black and standing in the right place, I can create an almost reflection free part of the glass to get a picture through. Not guaranteed to work but has improved a lot of zoo images I’ve taken.
5. Don’t worry about fences
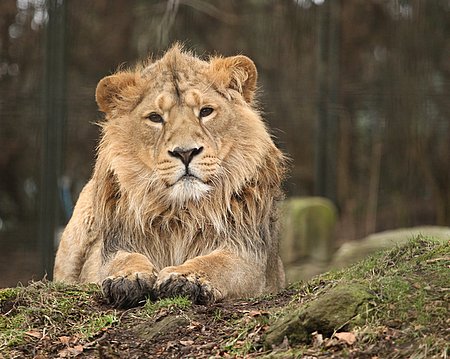
Inevitably and reassuringly, zoos have animals behind fences. Don’t let these put you off. If the animal is far enough away from the fence and you have your camera wide open to give a narrow depth of field ( see 2 ) then you can still get a decent shot. This lion picture was taken through a fence, you can see a little suggestion of the fence in the image. Sometimes you have to be happy the fence is there.
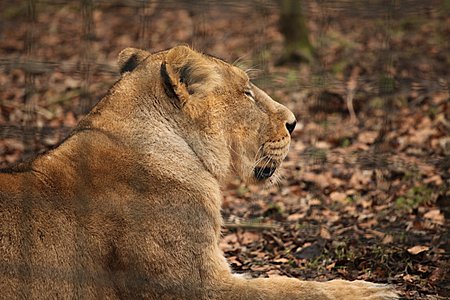
Here is his friend taken through the same fence. Because she’s nearer to the fence you can see it in the image.
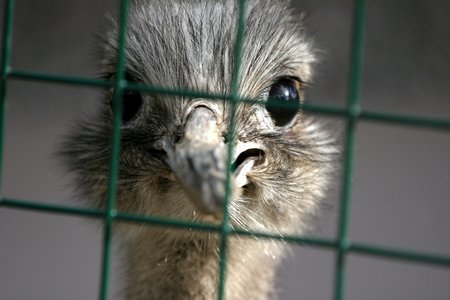
Obviously, if the animal is very close to the fence you can make the fence a feature of the image.
6. Sunny Days aren’t always the best
Zoo are great places on sunny days but they are also very busy places on sunny days and the light can be difficult and harsh. A bright, early morning is best, some clouds to diffuse the light a little. If you can be a regular visitor to a zoo then you can get to know what the sun is doing on different times of day in relation to the animals enclosure.
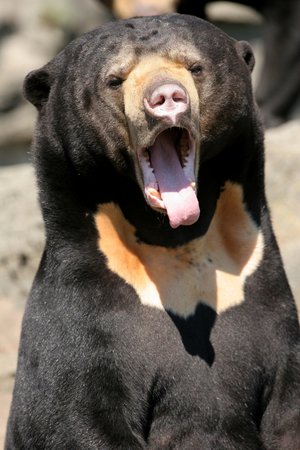
Obviously, if the subject is a Sun Bear then bright sunshine is definitely appropriate.
7. Get Close
Ideally, you want to get as close as possible. This means getting as physically close as you can and having a long lens. My weapon of choice zooms to 200mm (I’d ideally like closer but that does the trick usually ). As with any portrait, it always about the eyes, so if you can get close to an animal and see it’s face and expression, so much the better.
Shot at 200mm over the top of some small children.
8. Know Your Animals
Perhaps it goes without saying but knowing a little bit of the animals goes a long way. For instance, you will always get a good shot of a Meerkat, it’s what they do, they pose. Conversely, you will always struggle to get a koala awake. It’s what they do, they sleep.
Don’t expect anything from the animals that they won’t naturally do. If you can start to work out their routine, perhaps by asking keepers, that helps too. For example, I pretty much know where the rhinos will be at any time of day at Edinburgh Zoo.
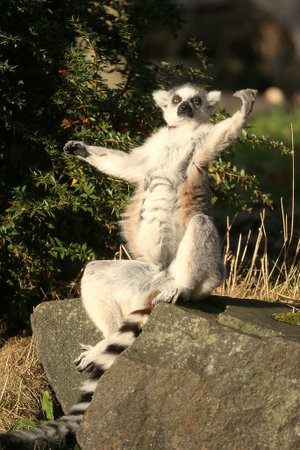
Behaviour is important to know too. Lemurs like to sun bathe, so, if it’s sunny, go look to see where they might best sun themselves.
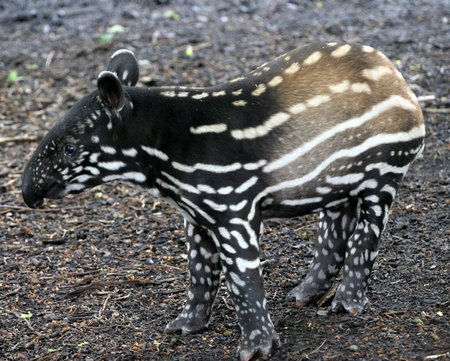
Also, always check the zoo website for news, there may be new arrivals that provide an opportunity for a rare shot, like this baby tapir.
9. Be Patient
I’m aware I’m straying into the territory of most internet lists of this type by stating the obvious. But you can plan your time in a zoo to give yourself the best chance. This means going back to the same place two or more times. Maybe the animal comes out, maybe the light changes – you have to be around at the right time and if you don’t know when that is, keep going back. As you walk away from an animal, always look back for a crowd forming behind you. The animal might not like your face so may wait until you leave.
10. Be Lucky
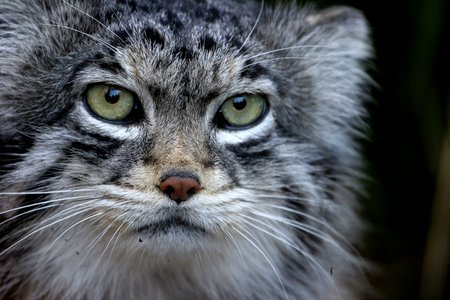
There is no doubt you need a lot of luck. I’d been to Edinburgh Zoo many times and have never seen the Pallas’ Cat. But I never gave up. I always went, I always looked and then one day…
Similarly, I was in Rotterdam Zoo, it had just started to rain, I was trying to find the gorillas but they had all hidden somewhere. I grumpily trudged away when, there, right in front of me…
A few minutes after I took this, he went about 50ft up a tree and never came back down. My favourite zoo picture, thanks to luck.






Wonderful article and very helpful. I especially liked the suggestion about wearing black for reflections. Brilliant!
Thank you, the most insightful guide to animal photography that I’ve found on the entire Internet. Some amazing photos too.